How to Remove Hard Top Jeep Wrangler 2 Door
As an Amazon Associate we earn from qualifying purchases.
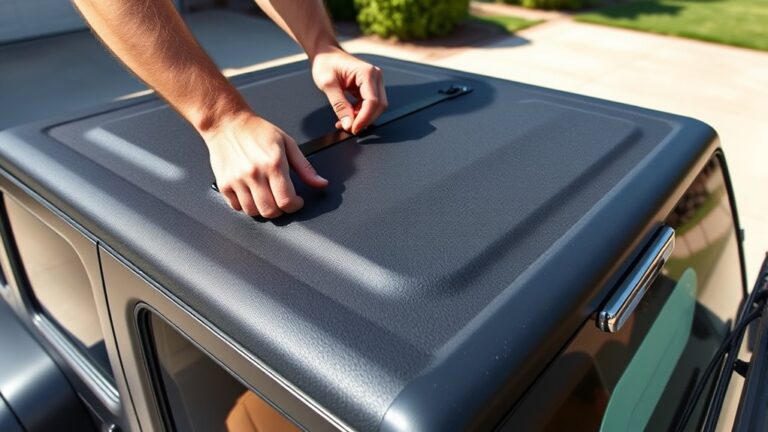
To remove a hard top on your 2-door Jeep Wrangler, you’ll want the right tools, a level spot, and at least one helper before you start.
Removing the hard top properly is important to avoid damage and ensure easy storage.
First, take off the freedom panels, then disconnect the rear wiper and defroster wiring.
After that, unbolt the top from the mounts and lift it straight off without twisting the seals.
The tricky part comes next, because one missed step can make storage or reinstalling a lot harder.
Take your time and follow each step carefully for the best results.
Key Takeaways
- Park on level ground, set the parking brake, and gather a T50 Torx bit, ratchet, extension, gloves, and storage support.
- Remove the Freedom panels first by releasing the front latches and lifting each panel straight up and out.
- Disconnect rear wiper, defroster, and washer wiring, then remove all rear and front Torx fasteners securing the hard top.
- Have two or three helpers lift the hard top straight up and away carefully, avoiding seals, wires, and snagged bodywork.
- Store the top on a padded, level surface with weather protection, and check seals and hardware before reinstalling later.
Gather the Tools You Need
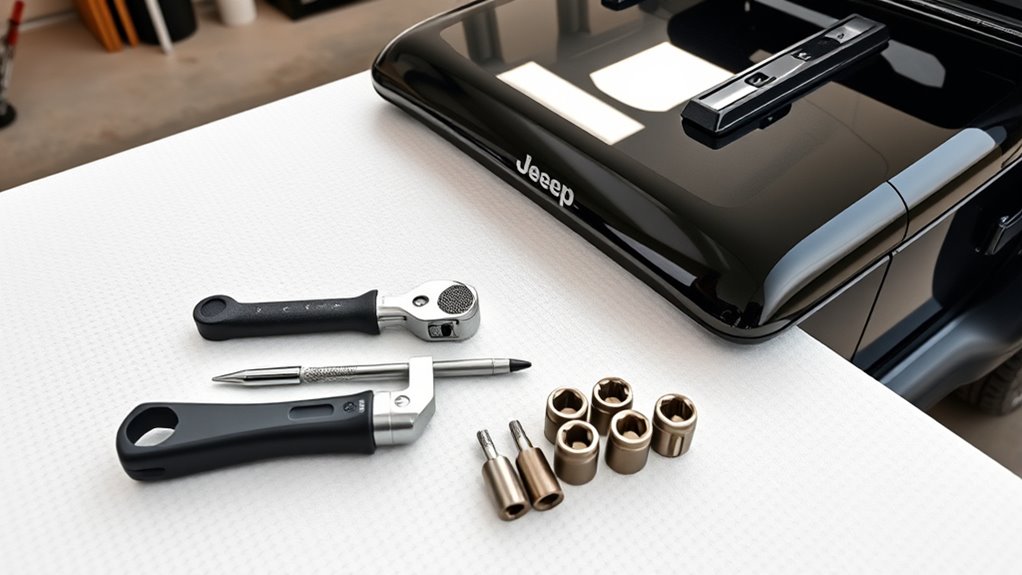
Before you start removing your Jeep Wrangler 2-door hard top, gather the right tools so the job goes smoothly and safely. You’ll need a T50 Torx bit, a ratchet, extension, and the factory tool kit if you have it.
Gather your T50 Torx bit, ratchet, extension, and factory tool kit before removing the hard top.
Keep a storage cart, padded surface, or moving blanket ready to protect the top once it’s off. Use a soft cloth to wipe dirt from fasteners before you begin, because grit can strip bolts.
Check your gloves for grip, and keep a helper nearby if possible; good lifting techniques matter when handling the panels. Set a small container aside for bolts and trim pieces so nothing gets lost.
Having every item within reach helps you stay organized, work faster, and maintain safety throughout the removal process.
Park on Level Ground
Choose a level parking spot so the Jeep stays stable while you work on the hard top. Set the parking brake firmly before you start removing any bolts or brackets.
Check that the ground is solid and even, since soft or sloped surfaces can make the top harder and less safe to lift off.
Choose Level Parking Spot
Where should you start? Pick a level parking spot before you touch the hard top. A flat surface keeps the Jeep stable and gives you room to work without fighting gravity or a rolling vehicle.
Check the area for cracks, slopes, loose gravel, and overhead hazards like low branches or garage doors. Leave enough space on both sides so you can lift panels and move around safely.
If you’re working at home, think about parking etiquette too; don’t block driveways or shared access. Keep your tool storage nearby so sockets, bolts, and trim pieces stay organized and within reach.
A clean, level spot helps you remove the top smoothly and protects both you and your Jeep from avoidable damage.
Set Parking Brake
Now that your Jeep is parked on level ground, set the parking brake firmly and shift into Park so the vehicle stays put while you work. Pull the parking brake handle or press the pedal all the way until you feel strong resistance.
Don’t rely on the transmission alone, especially when you’ll be lifting or shifting weight from the hard top. A secure parking brake helps prevent any unwanted movement while you remove hardware and panel fasteners.
Keep the engine off and your keys nearby, but out of the way. If your Jeep sits high with extra ground clearance, the added height makes stability even more important.
Before you start the next step, confirm the brake holds the vehicle solidly and the Jeep doesn’t roll when you gently test it.
Check Ground Stability
Before you remove the hard top, make sure your Jeep sits on a flat, stable surface with no slope or soft ground that could let it shift. Good ground stability keeps the vehicle steady while you loosen bolts and lift panels.
If you’re working on gravel, mud, or a driveway dip, move to level ground 확인 first. A small tilt can make the top harder to balance and increase strain on you.
| Check | Why it matters |
|---|---|
| Tires level | Prevents rolling or rocking |
| Surface firm | Supports safe lifting |
| No slope | Keeps the top aligned |
Take a moment to test the area before you start. That simple check can save time, protect your Jeep, and help you feel confident during removal.
Remove the Freedom Panels
Release the front latches above the windshield by flipping them open and pulling them free from the catches. Once they’re unfastened, lift each freedom panel straight up and out of the roof opening.
Set the panels aside on a soft, safe surface so you don’t scratch them.
Unlock Front Latches
To release the front latches, reach up inside the Jeep and flip each latch on the Freedom Panels to the open position. Keep one hand steady on the panel edge while you do this so you don’t strain the seal or your fingers.
Check that both latches fully disengage before you move on. If you feel resistance, stop and inspect for dirt, ice, or misalignment instead of forcing it. Good weather considerations matter here, since cold or wet conditions can make the hardware stick and increase unsafe handling risks.
Once the latches are free, make sure the interior area is clear and that nothing catches the panel edges. This simple check helps you avoid damage and prepares you for the next removal step.
Lift Off Panels
Now lift the Freedom Panels straight up and out of the Jeep, keeping them level so the edges clear the roof and windshield frame without scraping. Use both hands and keep a firm grip as you guide each panel free.
If the panels stick, wiggle them gently rather than forcing them, since you don’t want to damage the seals or paint. Set each panel on a clean, padded surface to avoid scratches and warping.
Check the weather seals for dirt or wear while they’re off, because that’s smart jeep maintenance. This step is simple, but steady handling matters.
If you’re making two word discussion ideas for your garage notes, keep this subtopic unrelated to other trim work so you stay focused on the removal process.
Disconnect the Wiper and Defroster
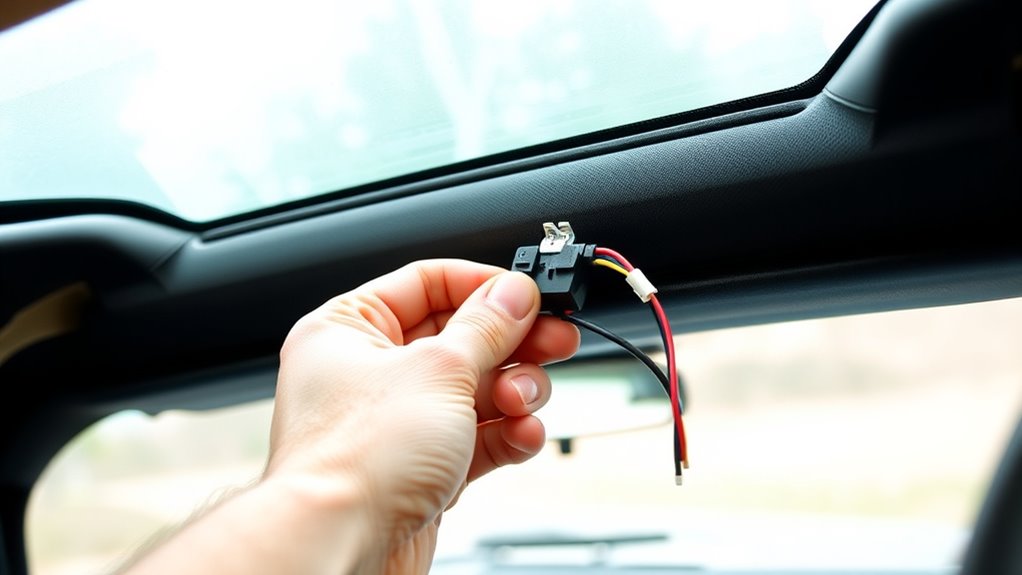
Before you lift the hard top off, disconnect the rear wiper and defroster so you don’t damage the wiring or pull on the connectors. Locate the wiring plug and gently release the locking tab before separating it.
Check the connector for dirt or moisture, and wipe it clean if needed. This step supports wiper maintenance by preventing bent pins and worn contacts, and it improves defroster safety by keeping the heating circuit intact while you work.
Keep the harness clear of sharp edges and moving panels as you continue. If the plug feels stuck, wiggle it lightly instead of forcing it. Once unplugged, tuck the cable aside where it won’t snag, then move on with the removal process.
Unbolt the Hard Top Mounts
Next, you’ll unbolt the hard top mounts by locating the rear fasteners along the back edge of the top. Once you’ve found them, remove the front bolts with the correct socket so the top stays supported and doesn’t shift.
Keep the hardware organized as you work so you can reinstall everything easily later.
Locate Rear Fasteners
At the rear corners of your Jeep, locate the hard top’s mounting bolts and remove them with the correct socket or Torx tool. Keep each rear fastener together so you don’t misplace hardware during reassembly.
Work on one side at a time, and support the top lightly with your free hand if it shifts. As you loosen each bolt, watch the panel alignment so the top stays seated evenly and doesn’t bind against the body.
If a fastener feels stuck, apply steady pressure instead of forcing it, which can strip the threads. After both rear fasteners are out, check that the top still rests squarely before moving on. This simple step helps you avoid damage and keeps removal controlled, clean, and efficient.
Remove Front Bolts
Move to the front mounting points and remove the front bolts that secure the hard top to the windshield frame or front body mounts. Use the correct socket, keep the bolts organized, and support the top as you loosen each fastener so it doesn’t shift.
If a bolt resists, apply steady pressure and a little penetrating oil, then wait a minute before trying again. Don’t force the threads or you could damage the mount.
Once the front bolts are out, check that no clips, wiring, or seal edges are still holding the top in place. Ignore any unrelated topic or irrelevant content while you focus on the hardware. This step clears the front connection and gets you ready to lift the hard top safely.
Lift Off the Hard Top Safely
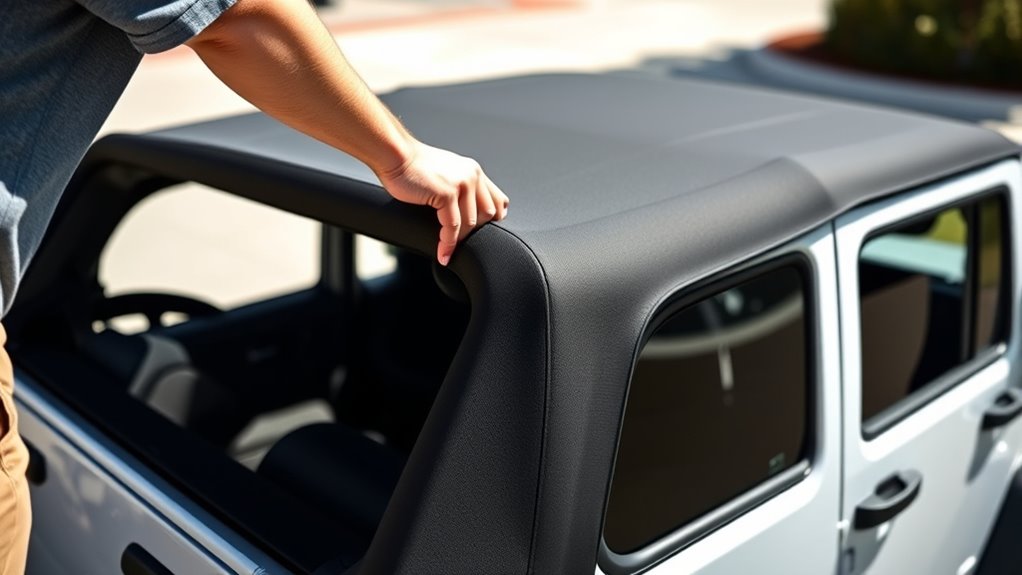
With everything unbolted and disconnected, you’re ready to lift the hard top off the Jeep. Have two or three helpers grip the roof at the side rails and rear edge, then lift straight up in one smooth motion.
Keep your backs straight and your steps coordinated so the top doesn’t twist or catch on the tub. Guide it over the rear bodywork slowly, watching for snagged wiring, loose weather seals, or lingering fasteners.
Once it clears the Jeep, walk it to a stable surface and set it down gently on padded blocks or a stand. Don’t drag it or let it flex.
If you’re moving it indoors, plan for indoor storage and follow basic weatherproofing tips to keep the shell clean and dry until reinstalling.
Store the Hard Top Without Damage
Once the hard top is off the Jeep, store it where it won’t get bent, scratched, or water damaged. Use storage solutions like a padded cart, wall rack, or purpose-built stand that supports the shell evenly.
Keep the top on a level surface so the weight doesn’t warp the frame. Place blankets, foam, or rubber mats between the top and any hard surface to prevent scuffs.
If you’re leaving it in a garage or shed, cover it with a breathable tarp or fitted cover. Follow weatherproofing tips by keeping it away from direct sun, standing water, and extreme heat or cold.
Make sure the area stays dry, clean, and clear of tools, bikes, and sharp edges that could cause damage.
Put the Hard Top Back On Correctly
Reinstall the hard top by lining it up carefully over the Jeep’s body and lowering it straight down so the mounting points sit flush. Have a helper guide each corner while you watch the seals and rear alignment.
Check for subtopic misalignment at the front header, along the side rails, and near the tailgate area before you tighten anything. Once the top sits evenly, hand-start all fasteners to avoid cross-threading, then snug them in a balanced pattern so the seal compresses evenly.
Reconnect the rear wiper, defroster, and washer hoses if your Jeep has them. Verify weather considerations by making sure the seals are dry, clean, and seated before you drive. Finish by closing each door and checking for gaps, rattles, or wind noise.
Avoid Common Removal Mistakes
To avoid common removal mistakes, take your time and support the hard top evenly as you lift it off so it doesn’t shift, scrape, or bind on the body. Keep your hands clear of pinch points, and don’t rush the final lift when the seal starts to release.
Take your time, support the hard top evenly, and avoid shifting, scraping, or binding as it lifts free.
Avoid these errors:
- Skipping fastener checks before lifting.
- Pulling from one side and twisting the top.
- Dragging the panels across paint or trim.
- Ignoring loose wiring or hoses that still need attention.
Stay focused on the task and don’t let an unrelated topic or irrelevant discussion pull your attention away. If something feels stuck, stop and confirm what’s holding it before you force it.
Careful, steady handling helps you prevent damage and keep the removal process clean.
Make Next Removal Easier
After you remove the hard top, clean the sealing surfaces, inspect the bolts and brackets, and store every fastener in a labeled container so nothing gets lost. Before your next removal, apply a light silicone protectant to the seals and keep a torque note for each bolt.
These tips for weatherproofing help prevent sticking, cracking, and leaks. Mark the hard top’s lift points with tape, and note any alignment shims you used. You’ll save time if you keep a padded wall rack or ceiling hoist ready; those tips for storage solutions protect the shell and free up floor space.
Recheck the wiring connectors and rear washer hose after every install, then test for wind noise and water intrusion. A consistent routine makes each future removal faster, safer, and cleaner.
Frequently Asked Questions
Do I Need Help Removing the Hard Top Alone?
Yes, you’ll usually need help removing it alone; the hard top’s heavy and awkward. Use helpful tools like a lift or cart, follow safety precautions, and avoid straining your back or dropping the top.
Will Removing the Hard Top Affect Fuel Economy?
Yes, removing it can improve fuel efficiency a bit, like shedding a ton of bricks. Your removal timing matters, too; drive carefully, and you’ll likely notice less drag. Speed and wind still affect mileage.
Can I Drive Safely With Only the Freedom Panels Off?
Yes, you can drive safely with only the freedom panels off if you secure everything properly, check driving safety, and stay weather ready.
You’ll need to watch for sudden rain, wind noise, and flying debris.
How Much Does a Jeep Wrangler 2-Door Hard Top Weigh?
You’re looking at roughly 100 to 150 pounds for a 2-door Wrangler hard top, depending on year and options.
Plan for removal hardware, and consider weather considerations before lifting or storing it.
Is a Hoist Necessary for Hard Top Removal?
Not strictly; a hoist’s necessity depends on your setup. You can manage solo removal feasibility with practice, but you’ll need help, padding, and careful lifting.
A hoist simply makes the job gentler, safer, and easier.
Conclusion
When you finish, treat your Jeep’s hard top like a sturdy shield you’ve gently lifted from a knight: park on level ground, keep helpers close, and set every bolt and panel aside with care.
Reconnect wiring before lowering the top back into place, and never force seals or fasteners.
If you store it indoors on a padded, level surface, you’ll protect it from damage and make the next removal quicker, safer, and far less of a chore.
Proper storage and careful handling are key to maintaining your hard top’s condition and ensuring that the next time you remove your hard top Jeep Wrangler 2 door, the process goes smoothly.