How to Repair 2009 f150 Sunroof
As an Amazon Associate we earn from qualifying purchases.
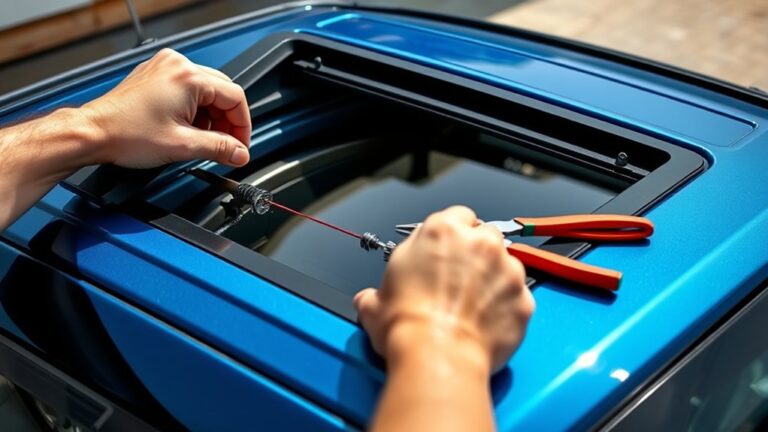
When your 2009 F-150 sunroof sticks halfway open, it’s like a door that lost its hinges. Repairing the 2009 F-150 sunroof requires a careful approach to avoid further damage.
First, disconnect the battery to ensure safety. Then, inspect the sunroof tracks and drain tubes for any debris or blockages.
Next, check the motor and switch to see if they are functioning properly before forcing the sunroof to move. A misaligned panel or worn seal can cause leaks and binding.
The repair process usually begins with cleaning, realigning, and testing each component one by one to restore smooth operation.
Key Takeaways
- Disconnect the battery, remove interior trim, and support the glass before any sunroof repair work.
- Check the fuse, switch, motor, and connector voltage to separate electrical faults from mechanical problems.
- Clean tracks, guides, and drain tubes; clear blockages with nylon line and verify water exits below the truck.
- Inspect weatherstripping for cracks or flattening, then replace it to stop leaks and protect the headliner.
- Realign the panel for even gaps and flush closure, and replace damaged cables, guides, or motor with OEM parts.
Common 2009 F-150 Sunroof Problems
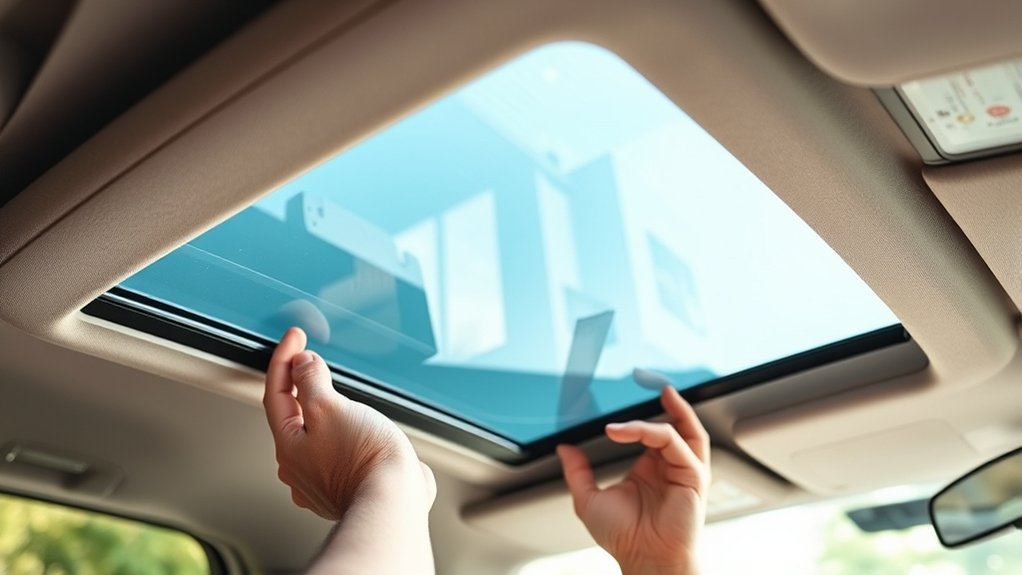
When your 2009 F-150 sunroof starts acting up, the most common problems usually point to the tracks, seals, drain tubes, or motor. You may notice slow movement, uneven closing, or a panel that won’t latch flush.
Worn seals let water reach the headliner, create stains, and damage sunroof cosmetics. Blocked drain tubes can cause leaks at the corners or A-pillars. Dirty tracks add drag, while damaged guides make the glass bind or tilt incorrectly.
A weak motor can grind, stall, or stop before full travel. Loose fasteners and dried grease often increase interior noise, especially over rough roads. Check for cracked trim, wind whistling, and moisture after rain.
These symptoms usually indicate wear, contamination, or adjustment issues, not a major structural failure.
How the F-150 Sunroof Works
The 2009 F-150 sunroof uses an electric motor, drive cables, tracks, and a glass panel to open, close, and vent the roof. You command it with the switch, and the module sends power to the motor. The motor turns the cables, which slide the panel along guided tracks.
In vent mode, the rear of the glass lifts while the front stays seated. In full-open mode, the panel retracts into the cassette. You should understand sunroof tension because the cables and guides must stay synchronized to prevent binding.
You should also inspect glass integrity, since a damaged panel can leak or jam the mechanism. The system depends on clean track movement, correct alignment, and controlled motion for reliable sealing and operation.
Tools and Parts You’ll Need
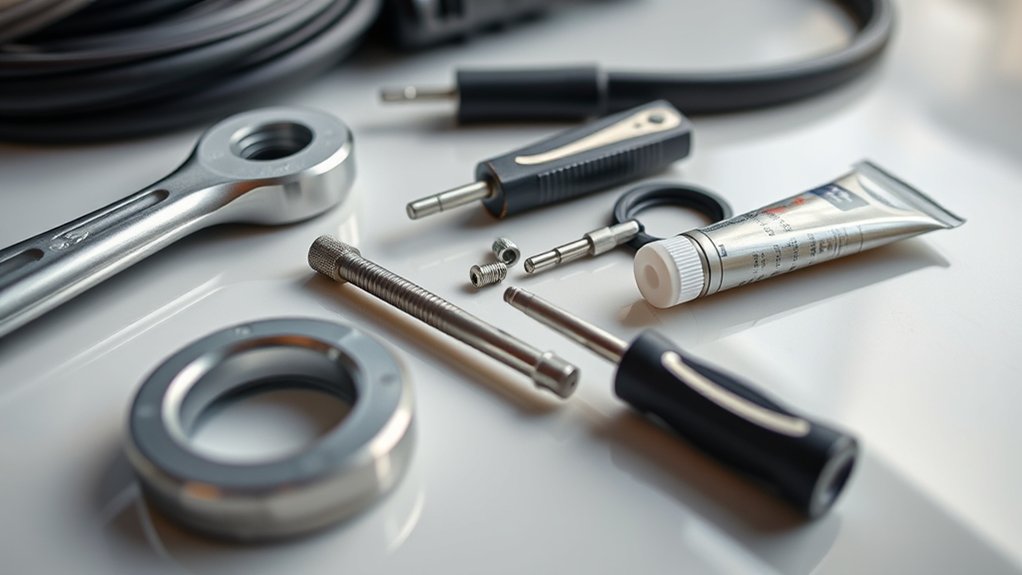
Before you start, gather the right tools and replacement parts so you can work on the 2009 F-150 sunroof without guessing. You’ll need a trim tool, Torx drivers, a ratchet set, a flashlight, microfiber cloths, isopropyl alcohol, dielectric grease, and a multimeter for basic electrical checks.
Keep replacement seals, fasteners, and the correct motor or switch assembly on hand if testing shows wear. Use OEM or exact-match parts to avoid fit issues.
Follow safety considerations: disconnect the battery before removing electrical connectors, wear gloves and eye protection, and support the glass if you loosen any mounting hardware. These DIY maintenance ideas help you work cleanly, reduce rework, and stay organized while keeping the repair focused and efficient.
Check Tracks and Drain Tubes
Check the sunroof tracks for proper alignment and signs of binding or damage. You’ll need to clean and clear the drain tubes so water can exit freely.
If the tracks aren’t straight or the tubes are blocked, the sunroof can leak or jam.
Inspect Track Alignment
Next, inspect the sunroof tracks for proper alignment and verify that the drain tubes are clear and securely attached. Move the panel by hand and watch for binding, uneven gaps, or side-to-side shift.
If the tracks sit out of square, loosen the mounting fasteners slightly, realign the assembly, and retighten to spec. Apply sunroof lubrication only to the contact points the service manual identifies; too much grease can attract grit and affect panel aerodynamics.
Check that the panel rides level at full travel and seats flush when closed. Confirm the drain tube nipples stay fully seated on the cassette outlets, with no kinks or abrasion.
If you find damage, replace the affected hardware before further adjustment.
Clear Drain Tubes
If the sunroof still hesitates or leaks, clear the drain tubes and confirm the tracks stay unobstructed. Open the panel and locate the front and rear drains at each corner of the frame.
Feed a flexible nylon line through each tube to remove dirt, leaves, and hardened sealant. Don’t use metal wire; it can puncture the tube. Flush each drain with a small amount of water and verify free flow at the exit points under the truck.
Wipe the tracks, then inspect for bent guides, loose fasteners, or debris that could bind the panel. This Sunroof maintenance step prevents water intrusion and restores smooth movement.
Use the repaired roof for proper ventilation tips, but keep the channels clean so airflow doesn’t become a leak path.
Fix a Stuck or Off-Track Sunroof
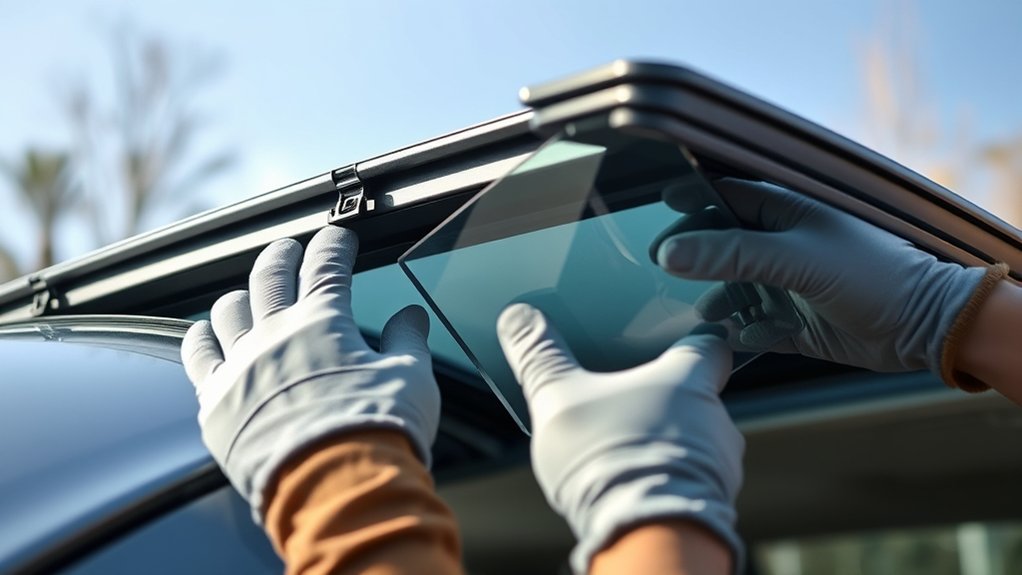
When the sunroof binds or sits off its tracks, stop operating the switch and remove the trim panel to inspect the rails, cables, and glass alignment. Clean debris from the channel, then apply sunroof lubrication sparingly to the slide points.
Check that the glass sits evenly at each corner before you cycle it.
| Check | What you want | Action |
|---|---|---|
| Rails | Straight, clean | Wipe and lube |
| Glass | Even gap | Reposition mounts |
| Switch test | Smooth travel | Close and open |
If the glass still drags, loosen the mounting fasteners, shift the panel slightly, and retighten. Don’t force it. If the frame is bent or the glass is damaged, glass replacement may be necessary before you continue.
Replace Broken Cables or Guides
Check the sunroof cables and guides for fraying, kinks, cracks, or binding, since any damage can keep the panel from moving correctly. If you find a failed part, you’ll need to remove the sunroof assembly to access the track hardware safely.
Install new guides and cables exactly to spec, then verify smooth travel before you reassemble the roof.
Diagnose Cable Damage
Inspect the sunroof drive cables and guides for binding, fraying, cracked plastic, or uneven travel as you cycle the panel by hand or with the switch. Watch each corner of the glass for lag, tilt, or chatter, which points to cable stretch or a damaged guide tooth.
If the panel sits crooked, check for a misaligned dome opening or interference at the solar vents before you assume the motor failed. Listen for clicking or grinding at both ends of travel; that noise usually means stripped cable teeth or a split guide channel.
Mark any section that hesitates, then compare left and right movement. Smooth, equal motion means the cables are serviceable. Any visible damage, backlash, or sticking means you should replace the affected cable or guide set.
Remove Sunroof Assembly
If the cables or guide rails showed fraying, binding, or broken teeth during diagnosis, remove the sunroof assembly so you can replace the damaged parts. Disconnect the battery, lower the headliner enough to access the cassette, and unplug the motor connector.
Mark the roof position, then support the glass and remove its fasteners to prevent panel shift. Next, unbolt the cassette perimeter fasteners and lower the assembly evenly; don’t twist the frame or you’ll distort panel aerodynamics.
Keep track of clips, spacers, and drain hoses as you work. Inspect the tracks for metal debris and dried sunroof lubrication before you set the unit on a clean bench. Handle the assembly carefully so you don’t scratch the roof opening or stress the cables further.
Install New Guides
With the cassette on the bench, remove the damaged guide rails and cables, then install the new guides in the same orientation as the originals. You should inspect each track for burrs, warped edges, and worn teeth before you slide the replacements into place.
Apply a light coat of approved grease to the contact surfaces, but don’t overpack the channels. Confirm the left and right guides seat fully in their retainers and move without binding.
If the cables were replaced, align them to the drive gear and check mesh engagement. Cycle the mechanism by hand through full travel, watching for smooth motion and equal movement. This step supports reliable sunroof maintenance and helps you identify two word discussion ideas for troubleshooting.
Test the Sunroof Motor and Switch
Start by checking whether the sunroof motor responds when you press the switch. If it doesn’t move, listen for a click and watch the panel for any twitch.
Check for sunroof motor response when you press the switch; listen for a click and watch for any slight twitch.
During sunroof troubleshooting, verify fuse power, then test voltage at the motor connector with the ignition on. Use a multimeter to confirm battery voltage and a solid ground.
If power and ground are present, the motor may be faulty. For motor testing, jumper the motor directly to a fused 12-volt source and reverse polarity to check both directions.
Next, test the switch with an ohmmeter; you should see continuity when you press open or close. Replace any switch that reads open or intermittent.
If the motor runs but the panel won’t move, the issue is mechanical, not electrical.
Stop Sunroof Leaks in Your F-150
To stop leaks in your F-150 sunroof, you need to clear the drain tubes first, since clogged drains let water back up into the cab.
Inspect the weatherstripping around the glass and frame for cracks, flattening, or separation. If the seal’s damaged, replace it so the sunroof closes against a proper water barrier.
Clear Drain Tubes
If your 2009 F-150 sunroof leaks, clogged drain tubes are often the cause, and you can usually fix them by clearing the front and rear drains before water backs up into the headliner. Open the sunroof, locate each corner drain, and feed a flexible nylon line through the tube.
Don’t use metal wire; it can puncture the line. Flush each drain with a small amount of water and confirm it exits under the truck. If flow slows, repeat the pass until it runs clear.
During drain tube maintenance, inspect for kinks from the tunnel ventilation redesign and straighten any pinch points. Keep the channels clean to prevent repeat leaks and preserve interior trim.
Locate all four drains
Use nylon line only
Flush with water
Verify outlet flow
Recheck after rain
Replace Damaged Weatherstripping
Worn weatherstripping can let water bypass the sunroof seal and soak the headliner, so inspect the rubber perimeter seal for cracks, flattening, or gaps where it no longer contacts the glass. If you find damage, remove the trim, lift out the old seal, and clean the channel with isopropyl alcohol.
Install the correct replacement for your new design roof panel, then press it evenly into place without stretching. Check alignment with the glass, solar shade, and frame before closing the sunroof.
| Check | Action |
|---|---|
| Cracks | Replace seal |
| Flat spots | Replace seal |
| Loose fit | Reseat seal |
| Hardening | Replace seal |
| Misalignment | Reinstall correctly |
Test with a light water spray and verify the drains stay dry.
Realign the Sunroof Panel
With the sunroof track loosened, you can realign the panel so it sits flush with the roof opening. Check both front corners first, then adjust the panel until the gap is even side to side. Tighten each fastener a little at a time so the panel doesn’t shift.
Use a straight edge to verify height and keep the glass level with the roof skin. This step affects sunroof aesthetics and can reduce privacy concerns when the panel seats properly.
- Inspect corner height before tightening
- Keep equal gap on both rails
- Adjust in small increments
- Verify flush fit with a straight edge
- Recheck panel movement after tightening
If the panel binds, loosen it again and repeat the alignment.
Prevent Future Sunroof Problems
To prevent future sunroof problems, keep the tracks clean, the drains clear, and the seals in good condition. You should vacuum debris from the frame, then wipe the rails with a non-greasy lubricant approved for automotive glass systems.
Inspect the drain tubes for kinks, cracks, or blockage, and flush them with low-pressure water. Check the perimeter seal for hardening or gaps, since moisture intrusion can damage the headliner and electronics.
Apply rust prevention to exposed metal around the opening and fasteners. Verify the wiring harness near the roof and A-pillar stays dry, secured, and free of chafing.
After every heavy rain or wash, test the sunroof for smooth operation and proper closure. Address minor leaks immediately to avoid expensive repairs.
Frequently Asked Questions
How Much Does a 2009 F-150 Sunroof Repair Usually Cost?
You’ll usually pay $300 to $1,200 to repair a 2009 F-150 sunroof, depending on sunroof wind issues, glass leakage, and motor or seal damage.
You might spend more if the frame’s bent or the drain system’s clogged.
Can I Drive My F-150 With a Broken Sunroof?
You can drive it, but you shouldn’t ignore leaks or shattered glass; they’re an irrelevant topic only if ignored.
A broken sunroof’s tangential issue can worsen fast. Fix it soon; a stitch in time saves nine.
Does the 2009 F-150 Have a Factory Sunroof Warranty?
No, you usually don’t get a separate factory sunroof warranty on a 2009 F-150; you’ll need to verify coverage.
Check your owner’s manual, inspect the sunroof lubrication and sunshade adjustment, then contact Ford with your VIN.
How Long Does Sunroof Repair Take on a 2009 F-150?
You’ll usually spend 1 to 3 hours on a minor 2009 F-150 sunroof repair; why drift into irrelevant topic or unrelated discussion?
If you need motor or track replacement, you’ll likely need half a day or more.
What Causes the Sunroof to Make Rattling Noises?
You’ll hear sunroof rattling when loose tracks, worn guides, damaged seals, or misaligned glass let parts shift over bumps. These conditions cause vibrations, so you should inspect fasteners, lubrication, and frame alignment.
Conclusion
You can bring your 2009 F-150 sunroof back to smooth, quiet service by working methodically. Clean the tracks, clear the drains, and inspect the seals. Test the motor and switch before moving on to more complex steps.
If the panel’s a bit out of step, realign it and re-seat the cables. Finish with light grease and a watertight check to ensure proper function.
With careful attention, you’ll keep small issues from becoming a more persistent inconvenience. Following these steps will help you effectively repair your 2009 F-150 sunroof and maintain its reliable operation.