How to Fix Active Air Dam System Fault Ford f150
As an Amazon Associate we earn from qualifying purchases.
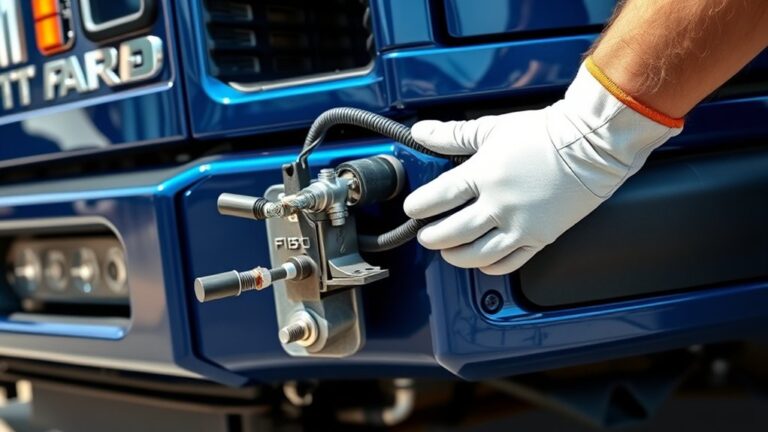
You don’t need to guess at an Active Air Dam System fault on your Ford F-150. Start by checking for debris, ice, bent brackets, and a binding lower grille assembly. These common issues can often cause the system to malfunction.
Next, inspect the actuator, linkage, fuses, wiring, and connectors for signs of wear or corrosion. If all these components appear to be in good condition, use a scan tool. It can help identify a faulty sensor or module.
The next step is where the real fix often shows up. Once you pinpoint the bad part, you can replace or repair it to restore proper function to the Active Air Dam System on your F-150.
Key Takeaways
- Inspect the active air dam for mud, ice, debris, bent plastic, or binding. Clean the underside and guide channels.
- Check the actuator, linkage, and mounting brackets for looseness, damage, and smooth travel. Look for interference from debris or upgrades.
- Test fuses, wiring, grounds, and connectors for voltage, corrosion, bent pins, rubbed insulation, and loose terminals.
- Scan for Ford trouble codes, review live data, and verify commanded versus actual air dam position and motor current.
- Repair or replace faulty parts, clear codes, and reset the system if supported. Confirm smooth operation and no returning faults.
What Causes an F-150 Air Dam Fault?
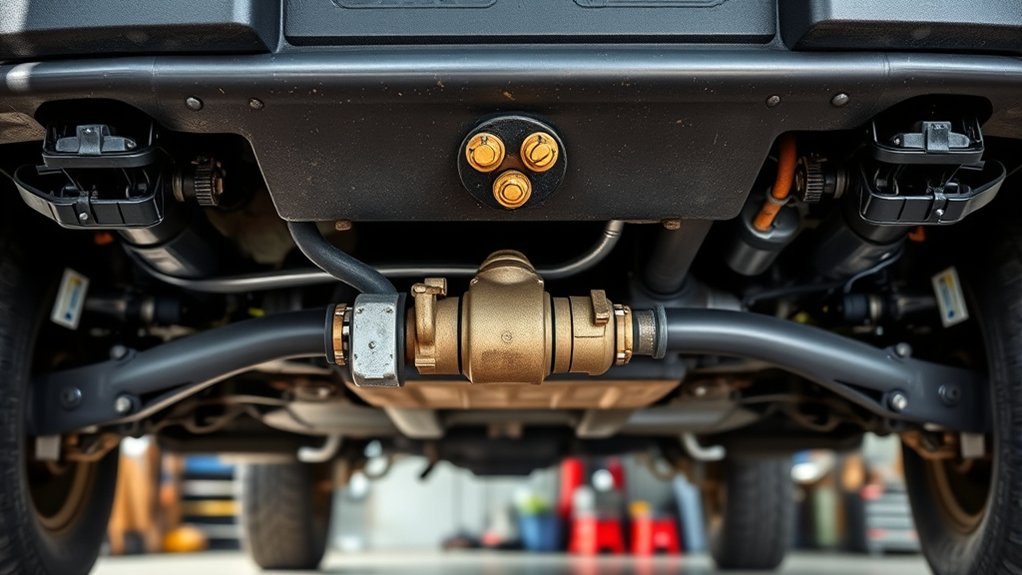
An F-150 active air dam fault usually starts with a problem in the system’s sensor, wiring, actuator, or control module. You should inspect for corrosion, loose connectors, broken harnesses, and damaged pins first.
Water intrusion or impact damage often triggers the fault after driving through debris, deep puddles, or snow. A weak battery or low system voltage can also set the code and interrupt operation.
If the actuator binds, the module may detect a position mismatch and flag failure. Scan for diagnostic trouble codes, then verify power, ground, and signal continuity with a multimeter.
Keep tip sharing focused on these checks, and ignore unrelated topics that don’t affect the air dam circuit or its electrical feedback.
How the Ford F-150 Active Air Dam Works
Your F-150’s active air dam lowers at speed to reduce front-end airflow, which helps cut drag and improve efficiency. It uses a motorized dam assembly, position sensors, wiring, and the control module, which all work together to move the panel based on vehicle speed and operating conditions.
When the system can’t command or confirm the correct dam position, you’ll usually get a fault message and may notice the air dam stays extended or retracted.
Active Air Dam Function
How does the Ford F-150 active air dam work? It lowers automatically at highway speeds to smooth airflow under the front bumper, then retracts at lower speeds or when you need extra ground clearance.
You get improved aerodynamics because the panel reduces underbody turbulence and drag, which can help fuel economy. It also supports air dam aesthetics by keeping the front end visually clean when retracted.
During operation, the system aims for noise reduction by minimizing airflow buffeting around the chassis. In normal driving, you won’t notice much movement, but the truck responds to speed changes and driving conditions.
If the dam doesn’t deploy or retract correctly, airflow management suffers and you may see a fault message.
System Components And Control
The active air dam system on a Ford F-150 uses a front-mounted panel, an electric actuator, position sensors, and the truck’s control module to manage deployment. You’ll see the module command the actuator to lower the panel at speed, then retract it when clearance is needed.
The sensors confirm actual position, so the system can detect binding, mismatch, or an open circuit. You benefit from improved aerodynamic efficiency, noise reduction, and modest weight savings compared with more complex mechanical devices.
The wiring harness supplies power and feedback, while the control module uses vehicle speed, temperature, and fault data to decide when to move the dam. If any component reports an abnormal signal, the module stores a fault code and may disable operation to protect the system.
Check the Air Dam for Stuck Components
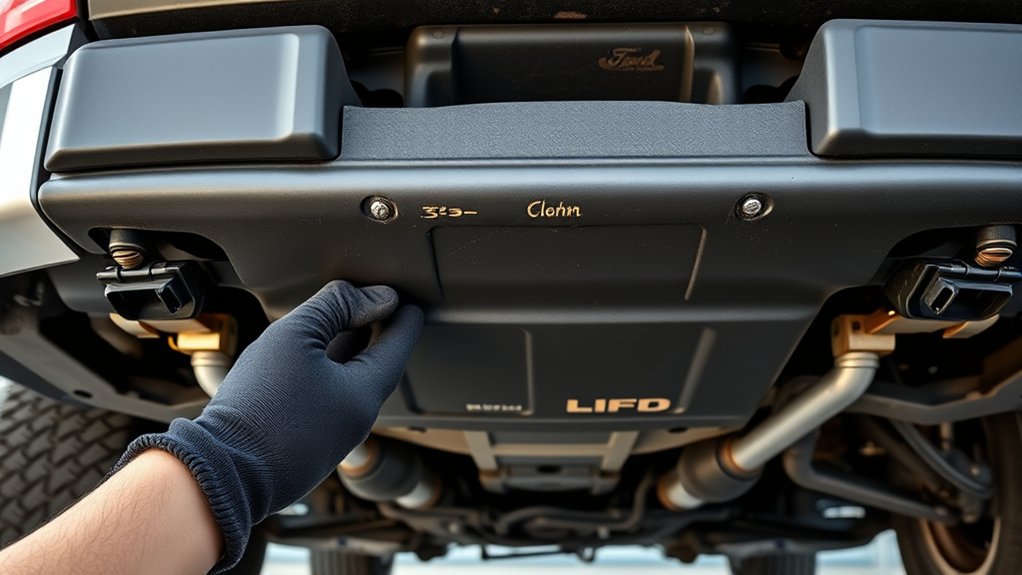
Next, inspect the air dam assembly for anything that could be binding or jamming its movement. Look for mud, ice, road debris, bent plastic, or damaged trim that can keep the panel from deploying or retracting fully.
Clean the underside thoroughly and clear any buildup from the leading edge, corners, and guide channels. If you see a warped panel, cracks, or impact marks, note them for replacement.
This active aerodynamic system is new tech designed to improve fuel economy, so even small obstructions can trigger a fault and reduce performance. Move the air dam by hand only if the service manual allows it, and check for smooth travel through the full range.
If the panel still sticks after cleaning, the issue likely sits deeper in the system.
Inspect the F-150 Air Dam Actuator and Linkage
With the air dam cleared, inspect the actuator and linkage that move it. You’re checking for broken mounts, bent rods, excessive play, and signs of binding. Use these steps:
Inspect the actuator and linkage for looseness, bends, or binding, and ensure smooth, full travel.
- Confirm the actuator housing sits tight and level.
- Move the linkage by hand; it should travel smoothly.
- Look for rust, impact marks, or worn bushings.
- Verify aftermarket upgrades or heat shielding haven’t interfered with travel.
If the actuator chatters, sticks, or won’t hold position, replace the failed part instead of forcing it. Also check that the linkage pivots freely through its full range without scraping the bumper or skid hardware.
A clean, aligned mechanism usually restores normal air dam movement and prevents repeat faults.
Test F-150 Air Dam Wiring, Fuses, and Connectors
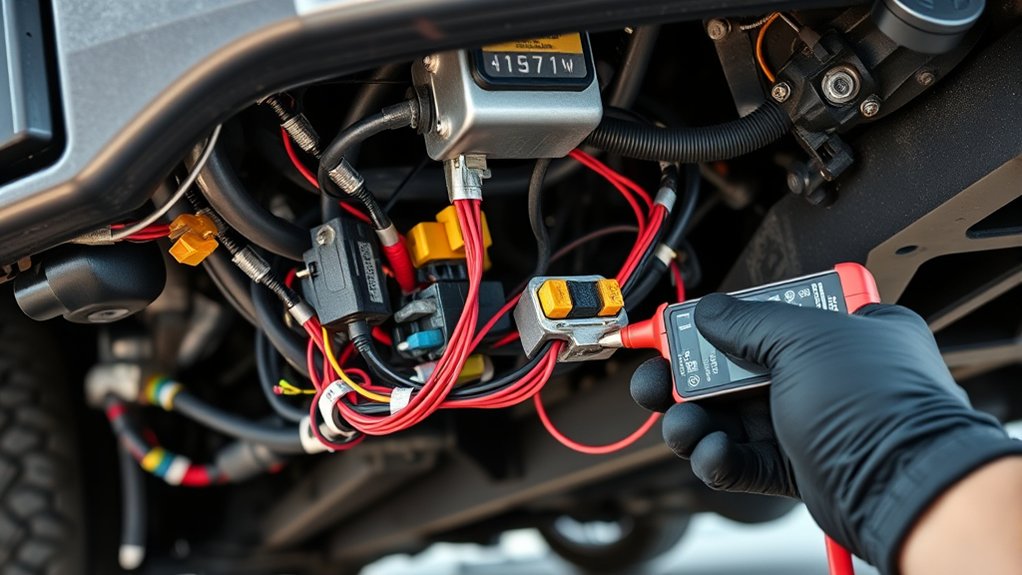
Now trace the electrical side of the air dam system, because a weak fuse, corroded connector, or damaged wire can mimic a failed actuator. Start with idea one: check the fuse with a test light or multimeter under load, not just by sight.
Then inspect the harness for rubbed insulation, pinched sections, and loose grounds. Use idea two to unplug each connector, look for bent terminals, and verify clean, tight contact.
| Check | What you want |
|---|---|
| Fuse | Full voltage on both sides |
| Connector | Dry, clean, locked terminals |
| Wiring | No opens, shorts, or chafing |
If you find green corrosion, clean it, apply dielectric grease sparingly, and retest. Repair damaged wiring before moving on.
Scan the F-150 for Air Dam Trouble Codes
Connect a scan tool to your F-150 and check for diagnostic trouble codes in the active air dam system. Record any related DTCs, since they’ll point you to the exact fault path.
Then read the live air dam data to verify command status, feedback signals, and whether the module is responding correctly.
Check Diagnostic Trouble Codes
To pinpoint an active air dam fault on your Ford F-150, scan the truck for diagnostic trouble codes with an OBD-II scanner or Ford-capable diagnostic tool. Record every stored, pending, and history code before you clear anything. This step keeps your car maintenance work organized and protects engine cooling performance.
Focus on module codes tied to the active grille shutter, actuator, position sensor, or communication faults.
- Connect the scanner to the DLC.
- Key on, engine off.
- Save all air dam-related codes.
- Note freeze-frame data and mileage.
Use the code list to confirm whether the fault is electrical, mechanical, or communication-based. Don’t guess at repairs yet; the codes tell you which circuit or component failed, and that keeps your diagnosis accurate.
Read Air Dam Data
With the scan tool still plugged into the DLC, read the live air dam and grille shutter data so you can see what the system is reporting in real time. Watch commanded position, actual position, motor current, and any fail-safe status.
If the air dam stays commanded closed while the truck requests open, you’ve likely got a wiring, motor, or calibration issue. Compare data against vehicle speed, coolant temp, and ambient temp to confirm the strategy is working.
If codes return, note freeze-frame values before clearing them. Ignore any unrelated topic or off topic concept that doesn’t affect the actuator circuit. Document every reading so you can isolate intermittent faults and avoid replacing parts that test good under load.
Repair Faulty Air Dam Sensors or Modules
If the air dam actuator, position sensor, or control module is faulty, you’ll need to repair or replace the affected component rather than keep resetting the system. Start by inspecting connectors, harness routing, and water intrusion. Use a multimeter to verify power, ground, and signal integrity before you repair sensors or replace modules.
Inspect connectors, wiring, and moisture first, then verify power, ground, and signal before replacing faulty air dam components.
- Check for bent pins and corrosion.
- Test sensor resistance and output sweep.
- Compare live data against Ford specifications.
- Install the correct OEM part and torque fasteners properly.
If the sensor reads erratically, replace it. If the module won’t communicate, swap it with a verified unit. After repairs, confirm the air dam moves smoothly and the fault doesn’t return.
Clear the Fault and Reset the System
After you repair the fault, clear the diagnostic trouble codes with a scan tool and reset the Active Air Dam system so the module can relearn normal operation. Use the scan tool’s manufacturer-specific menu, not a generic code clear, if your truck supports it.
Cycle the ignition off, wait 30 seconds, then restart the engine and command the air dam through its sweep test. Watch for smooth movement, correct feedback, and no return codes.
If the module won’t reset, recheck power, ground, and communication circuits before you repeat fault diagnosis. Confirm that the warning message stays off during a short road test.
This step completes air dam maintenance and verifies the repair was accepted by the control module.
Prevent Future F-150 Active Air Dam Failures
To reduce repeat Active Air Dam faults on your F-150, keep the lower front end clean and inspect the air dam assembly regularly for packed mud, ice, damaged wiring, loose connectors, and bent brackets. Use these steps to prevent damage:
- Wash the underbody after winter driving or off-road use.
- Check harness clips and connector seals for wear.
- Cycle the air dam during service and listen for binding.
- Replace cracked panels before they jam the mechanism.
Follow idea one by verifying the actuator moves smoothly and idea two by protecting exposed wiring with correct routing and dielectric grease.
If you tow, drive in deep snow, or hit road debris, inspect the system sooner. Consistent cleaning, visual checks, and prompt repairs help you avoid future faults and keep the active air dam operating reliably.
Frequently Asked Questions
Can I Drive With an Active Air Dam Fault?
Yes, you can usually drive, but you shouldn’t ignore it. The fault may affect driving safety and fuel economy.
Check warranty terms, scan codes, and inspect the air dam before long trips or heavy loads.
Does the Active Air Dam Affect Fuel Economy?
Yes, when it’s faulty, you’ll lose the air dam’s inactive aerodynamics, so your truck sips fuel like a politician at a buffet. You’ll see slightly worse mileage, especially at highway speeds, due to reduced bumper aerodynamics.
How Much Does Air Dam Repair Usually Cost?
You’ll usually pay $300 to $1,200, depending on actuator, wiring, or bumper damage. Diagnostic time, labor rates, and parts vary.
If you’re chasing two word ideas, unrelated topics, get an itemized estimate first.
Is the Air Dam Fault Covered Under Warranty?
Yes, you may have air dam warranty coverage, but it depends on your truck’s plan and the defect cause. Weather impact can weaken claims.
You should check your VIN coverage, then ask your dealer.
Can Weather Cause the Air Dam Warning to Appear?
Yes, weather can trigger the warning; you might see it after snow, ice, mud, or heavy rain. Weather impact can block sensors or freeze the mechanism, so you should check sensor calibration and clear obstructions.
Conclusion
You can keep your F-150’s active air dam working reliably, but only if you treat simple blockage and electronic fault as equal suspects. Start by clearing debris, ice, and binding parts, then inspect the actuator, wiring, and connectors for damage.
Next, scan for codes and verify sensor data before replacing any failed component. Once you reset the system and confirm smooth sweep action, you’ll restore function now and help prevent the same fault from returning.
Following these steps will help you effectively fix the active air dam system fault Ford F150 and maintain optimal vehicle performance.