How to Change a Battery in a 2013 Ford Escape
As an Amazon Associate we earn from qualifying purchases.
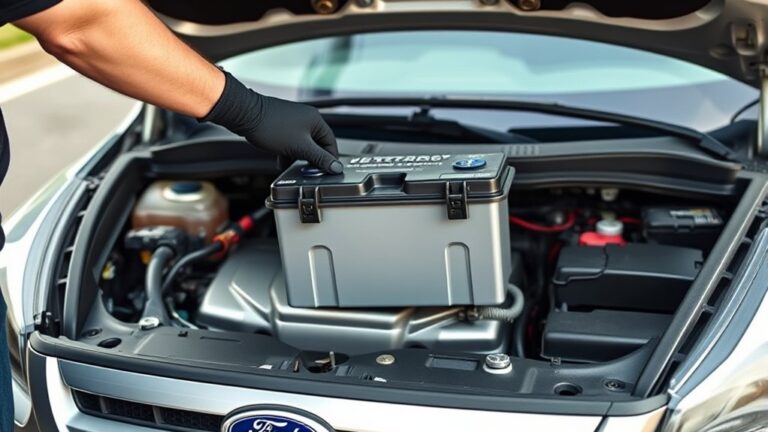
To change the battery in a 2013 Ford Escape, you’ll need to work under the hood on the driver’s side, where the battery sits in a tray with a hold-down clamp. This location makes it accessible for maintenance and replacement.
Start by disconnecting the negative cable first, then the positive. After that, remove the retainer and lift the old battery out carefully.
Before you install the new battery, there’s one important detail about terminal order and fitment that can save you from a costly mistake. Paying attention to this step ensures a smooth and safe battery replacement process.
Key Takeaways
- Open the hood and locate the battery on the driver’s side, near the front of the engine bay.
- Turn the ignition off, remove the key, and wear gloves and safety glasses before starting.
- Disconnect the negative cable first, then the positive cable, and remove the hold-down clamp.
- Install the new 12-volt battery in the same orientation, then reconnect the positive cable first and negative second.
- Tighten terminals, reset clock and presets, and test for normal starting and charging voltage.
Battery Location in a 2013 Ford Escape
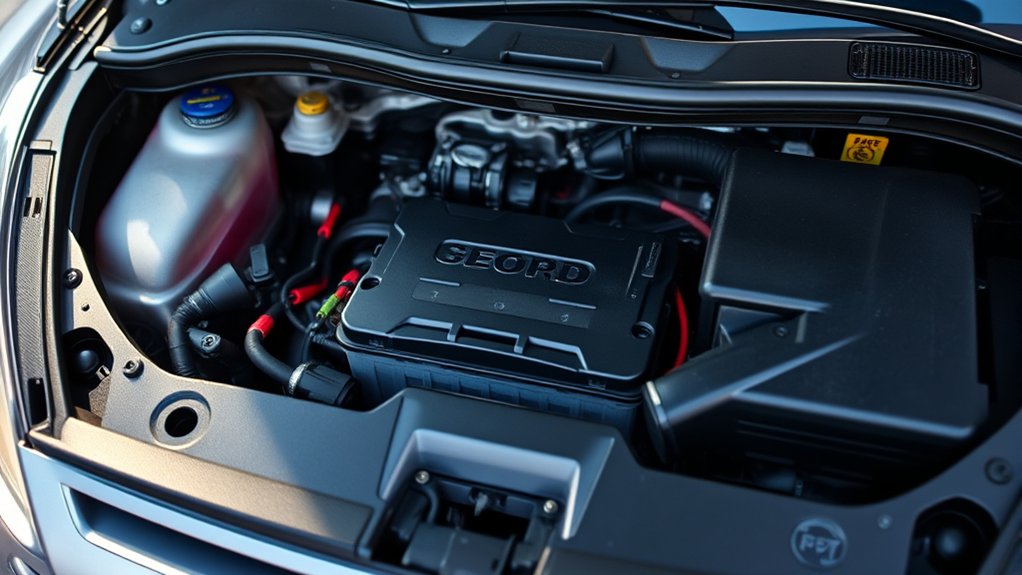
The battery in a 2013 Ford Escape is located under the hood on the driver’s side, near the front of the engine compartment. You’ll see it beside the air intake assembly, secured in a tray with a hold-down clamp.
This battery location gives you direct access once you open the hood and stand at the left front corner of the vehicle. Before you touch anything, note the safety reminders: turn the ignition off, remove the key or fob, and keep metal tools away from exposed terminals.
You should also confirm that the battery cables and surrounding components are cool and dry. Identify the positive and negative terminals before you disconnect or inspect anything, so you can work efficiently and avoid accidental short circuits.
Tools and Parts Needed for the Battery Swap
For a clean battery swap, you’ll need a replacement 12-volt battery that matches the 2013 Ford Escape’s group size and terminal layout, plus basic hand tools such as a ratchet, socket extensions, and a wrench for the hold-down and cable clamps.
For a clean battery swap, match the 2013 Ford Escape’s group size, terminals, and hold-down hardware.
- 10 mm socket
- Ratchet and short extension
- Battery terminal brush
- Safety glasses and gloves
- Battery memory saver, if used
You should also have a multimeter to verify voltage and charging rates after installation. Choose a battery with the correct cold-cranking amps and reserve capacity for your engine.
Check the case dimensions, post orientation, and venting provisions before you buy. Good battery safety starts with clean tools, corrosion-free terminals, and the right replacement part, so you won’t waste time fitting mismatched hardware.
Disconnect the Old Battery Safely
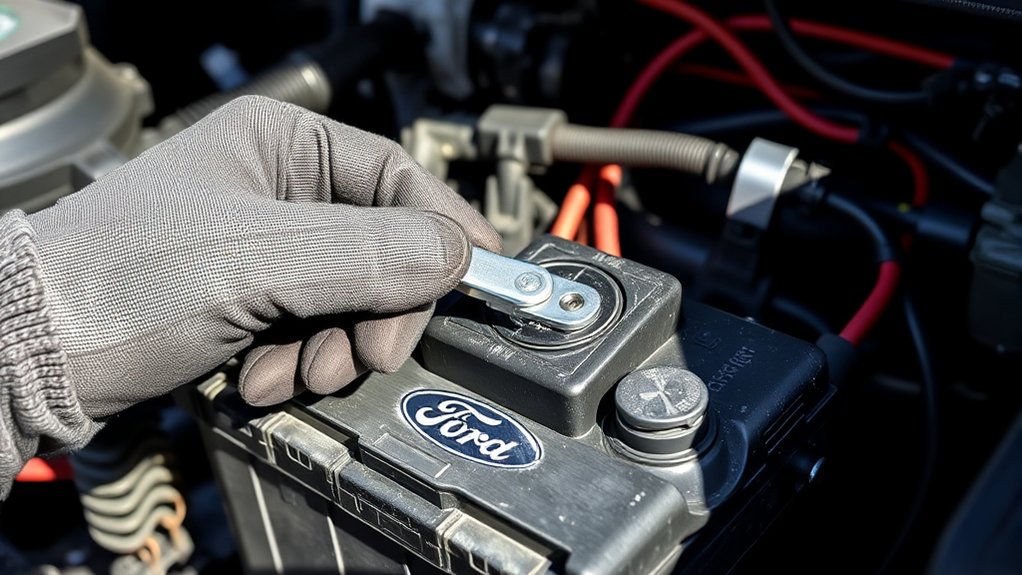
First, loosen the negative terminal clamp with the correct wrench and move the cable clear of the post. Next, remove the positive cable and keep it from contacting any metal surface.
Finally, lift the battery straight out of the tray, using proper handling technique to avoid strain or acid contact.
Loosen Negative Terminal
Before you loosen any other hardware, use a 10 mm wrench or socket to loosen the negative battery terminal nut just enough to free the clamp.
- Keep the tool square on the nut.
- Turn counterclockwise until the clamp moves.
- Don’t remove the nut completely.
- Wiggle the terminal gently to confirm it’s loose.
- Check for corrosion checks on the terminal and cable end.
You’re working on the loose battery connection now, so keep the clamp clear of the post without forcing it. If the cable resists, recheck the fastener and apply only light pressure. Maintain control of the lead so it can’t spring back and touch the terminal. Once it separates, position it away from the battery case and verify it stays isolated while you prepare for the next step.
Remove Positive Cable
Now loosen the positive battery cable clamp with a 10 mm wrench or socket and lift it off the positive post. Keep the cable end clear of the terminal so it can’t spring back and contact metal.
If the clamp is stuck, twist it gently while pulling upward; don’t pry against the battery case. Inspect the terminal for corrosion, and note any damage for your maintenance schedule.
Confirm the positive cable is fully isolated before you continue. Place the removed connection where it won’t touch the battery or bodywork. This step completes the safe disconnection sequence and reduces the risk of short circuits.
After replacement, take the old battery to approved battery recycling so it’s handled according to environmental rules and local service requirements.
Lift Battery Out
With both battery cables disconnected, you can lift the battery straight up and out of the tray. Keep your grip on the case, not the terminals, and maintain an upright angle to prevent acid spill. The battery is heavy, so use both hands and clear nearby components as you raise it.
- Inspect the tray for corrosion.
- Check the hold-down hardware for damage.
- Set the battery on a stable surface.
- Wear gloves and eye protection.
- Follow local battery disposal rules.
If the case is cracked, stop and contain leakage immediately. After removal, review the owner’s manual for jump start guidance before installing the replacement battery. Clean the tray and cables now so the new battery seats properly.
Remove the Hold-Down and Old Battery
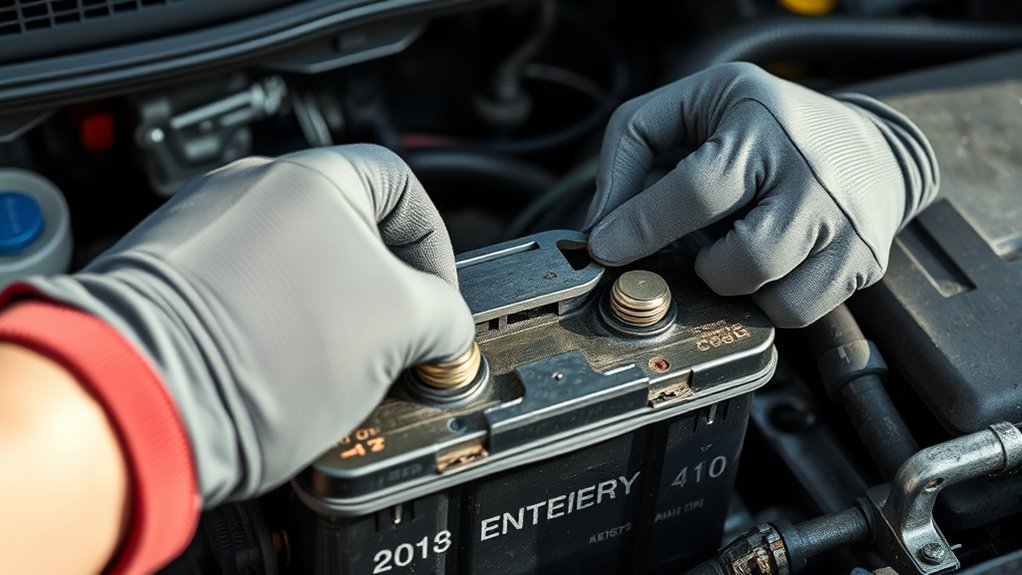
Next, remove the battery hold-down so you can lift out the old battery safely. Use the correct socket or wrench to loosen the clamp fastener, and keep the hardware organized for reassembly.
Maintain battery safety by staying clear of the terminals and carrying the battery with both hands. Support the battery from the base, not the top posts, and keep your grip steady to prevent tipping.
If the hold-down resists, apply controlled force and adjust your tool angle for better tool ergonomics. Once the clamp is free, set it aside on a clean surface.
Then raise the battery straight up, using your legs rather than your back. The 2013 Ford Escape battery is heavy, so move slowly, watch for cable contact, and place the old battery on the ground away from the engine bay.
Install a New Battery in Your 2013 Ford Escape
Before installing the new battery, clean the battery tray and inspect the terminals, hold-down, and cable ends for corrosion or damage. Lower the replacement battery into the tray with the posts in the same orientation as the original, and keep it level to avoid stressing the case. Confirm it sits fully on the tray ledge and doesn’t rock.
Clean the tray, inspect for corrosion, and set the battery level in its original orientation.
- Verify the battery matches the correct group size.
- Align the case so the cables reach without strain.
- Check that the tray is free of debris.
- Ensure the battery clears nearby brackets.
- Note any two word discussion ideas for later, not an irrelevant topic.
Position the hold-down hardware over the battery and seat it evenly. Do not force anything; a centered, secure fit prevents movement during driving.
Reconnect the Terminals and Tighten Them
Reconnect the positive terminal first and position it firmly on the battery post. Tighten the clamp just enough to prevent movement without over-torquing the fastener.
Then secure the negative terminal in the same way to complete the connection.
Reattach Positive Terminal
How do you finish the battery connection? Reattach the positive terminal first and keep the clamp aligned with the battery post. If an irrelevant topic or unrelated concept distracts you, return to the task and verify the cable end is clean and seated.
Then tighten the fastener with the correct wrench until the clamp won’t twist by hand.
- Place the red terminal fully over the positive post.
- Push it down until it rests flush.
- Turn the nut clockwise to secure the clamp.
- Check that the cable doesn’t move.
- Confirm the protective cover snaps back on.
Use firm pressure, but don’t over tighten. A properly seated positive connection restores power flow and prepares the Escape for the next step.
Secure Negative Terminal
With the positive terminal secured, move to the negative cable and set the black clamp fully over the negative post. Push it down until the metal sits flush and won’t rotate by hand. Install the retaining nut or bolt, then tighten it with the correct wrench size until the connection feels firm.
Don’t overtighten; you can strip the hardware or crack the terminal. After tightening, tug the cable lightly to confirm it’s locked in place. Check that the clamp sits straight and that no exposed metal touches nearby components.
This step completes essential battery maintenance and helps prevent starting faults. Ignore charging myths that claim a loose ground will “self-correct” after driving; it won’t. A secure negative terminal ensures reliable cranking and stable electrical flow.
Reset Features After a Battery Change
After you install the new battery, you may need to reset a few vehicle features so they work correctly again. Check the clock, radio presets, and SYNC settings first. Relearn any saved seat or mirror positions if your trim stores them.
For battery maintenance, confirm all terminals are tight and clean before driving. Use the following checklist:
- Set the clock and date
- Reenter radio presets
- Reconnect Bluetooth devices
- Restore memory seat settings
- Verify tire pressure monitoring alerts
If your Escape uses an automatic idle stop system, let it recalibrate during normal driving. These steps help preserve fuel efficiency and keep electronic controls accurate.
Complete each reset methodically, then store your settings for future battery service.
Test the New Battery for Problems
Start the engine and watch for warning lights, slow cranking, or flickering electronics that could point to a bad connection or a weak battery. If the engine starts normally, let it idle and verify that the dashboard voltage stays near 13.5 to 14.7 volts with a multimeter.
Check the battery terminals for heat, looseness, or corrosion, and retighten them if needed. Keep battery safety in mind and avoid touching both terminals with a tool at once.
Turn on the headlights, blower, and rear defroster to confirm the alternator supports the load. If voltage drops sharply, inspect the cables and test the battery at an auto parts store.
Review charging considerations before short trips, since repeated low-voltage starts can hide a defect.
Frequently Asked Questions
How Much Does a Replacement Battery Cost?
A replacement battery usually costs you $120 to $250, depending on size and brand.
Check battery maintenance needs and pricing strategies at local retailers, because premium AGM units can run higher.
Can I Change It Without Losing Radio Presets?
Yes, you can, if you preserve power during the swap with a memory saver. That prevents memory loss and radio reset.
Connect it to the OBD-II port or jump posts before disconnecting the battery.
What Size Battery Fits a 2013 Ford Escape?
You need a Group 96R battery for a 2013 Ford Escape; verify battery dimensions and reserve cold cranking ratings.
You’ll want 12 volts, AGM or flooded, matching tray clearance and terminal orientation exactly.
How Long Should Battery Installation Take?
You should expect battery installation to take 15 to 30 minutes. A brief two word discussion ideas check helps you avoid battery myths, confirm fitment, and finish quickly with proper terminal tightening and reset procedures.
Do I Need a Memory Saver During Replacement?
No, you don’t strictly need a memory saver, unless you enjoy reprogramming your car like it’s 1998. You’ll likely lose radio presets and some settings, so save codes.
Then disconnect power, replace the battery, and reconnect promptly.
Conclusion
Now that you’ve replaced the battery in your 2013 Ford Escape, double-check every connection, clamp, and cable before closing the hood. Turn the ignition on and confirm the engine starts normally, the dashboard lights behave as expected, and any reset features work properly.
If something seems off, inspect the terminals again. A job done right saves trouble later—measure twice, cut once.
With the new battery installed in your 2013 Ford Escape, you’re ready to drive with confidence.